Upgrading your Dell XPS 13 with a Thunderbolt 3 dock can transform your device into a versatile powerhouse. This guide streamlines the installation and configuration process, ensuring you can effortlessly connect multiple peripherals, transfer data at lightning speeds, and enhance your productivity. No technical jargon here—just clear steps and tips to make your setup process smooth and efficient. Get ready to unlock the full potential of your device with straightforward instructions designed for everyone, from beginners to tech enthusiasts.
Overview of Thunderbolt 3 Technology
Thunderbolt 3 is a cutting-edge connectivity standard that significantly enhances data transfer and device interaction capabilities. It offers a remarkable bandwidth of up to 40Gbps, enabling users to transfer large files and stream high-resolution videos effortlessly. This technology also supports daisy-chaining, allowing multiple devices to connect through a single port, simplifying workspace setups.
Also to read : Ultimate Guide: Setting Up a High-Performance AI Development Workstation with NVIDIA RTX A6000
The Dell XPS 13, a flagship ultrabook, integrates Thunderbolt 3 to boost its versatility and performance. This sleek device features a compact design without compromising on power, thanks to its Thunderbolt 3 ports. These ports enable the XPS 13 to connect to external GPUs, high-speed storage solutions, and multiple 4K displays, making it an ideal choice for professionals who demand high performance in a portable package.
Common use cases for Thunderbolt 3 docks include expanding the connectivity options of laptops like the Dell XPS 13. Users can connect various peripherals such as keyboards, mice, and external monitors, transforming their laptops into powerful desktop workstations. Additionally, Thunderbolt 3 docks often provide power delivery, charging devices while maintaining a clutter-free environment. This makes Thunderbolt 3 an indispensable technology for modern computing needs.
Topic to read : Maximizing Gaming Performance on a Budget: Essential Tips for Your Dell Inspiron 5502
Preparing for Installation
Before diving into the installation preparation for your Thunderbolt 3 dock with the Dell XPS 13, ensure you have the necessary components and tools. Compatibility is crucial, so start by verifying that your chosen dock is on the list of compatible Thunderbolt 3 docks for the Dell XPS 13. Popular options include the CalDigit TS3 Plus and the Plugable Thunderbolt 3 Docking Station, known for their seamless integration and performance.
Required Tools and Materials
Gather the required tools and materials for a smooth installation process. Typically, you will need:
- A compatible Thunderbolt 3 dock
- A Thunderbolt 3 cable
- Power adapter (often included with the dock)
Pre-installation System Requirements
Prior to installation, ensure your Dell XPS 13 meets the pre-installation system requirements. Verify that your system's BIOS and Thunderbolt software are up to date. Regular updates enhance compatibility and performance, reducing potential issues during installation. Furthermore, check the operating system's compatibility with Thunderbolt 3 functionality to ensure optimal performance. This preparation will streamline the setup process, allowing you to fully leverage the benefits of Thunderbolt 3 technology.
Step-by-Step Installation Guide
Setting up your Thunderbolt 3 dock with the Dell XPS 13 involves a few straightforward steps. Follow this guide to ensure a seamless installation process.
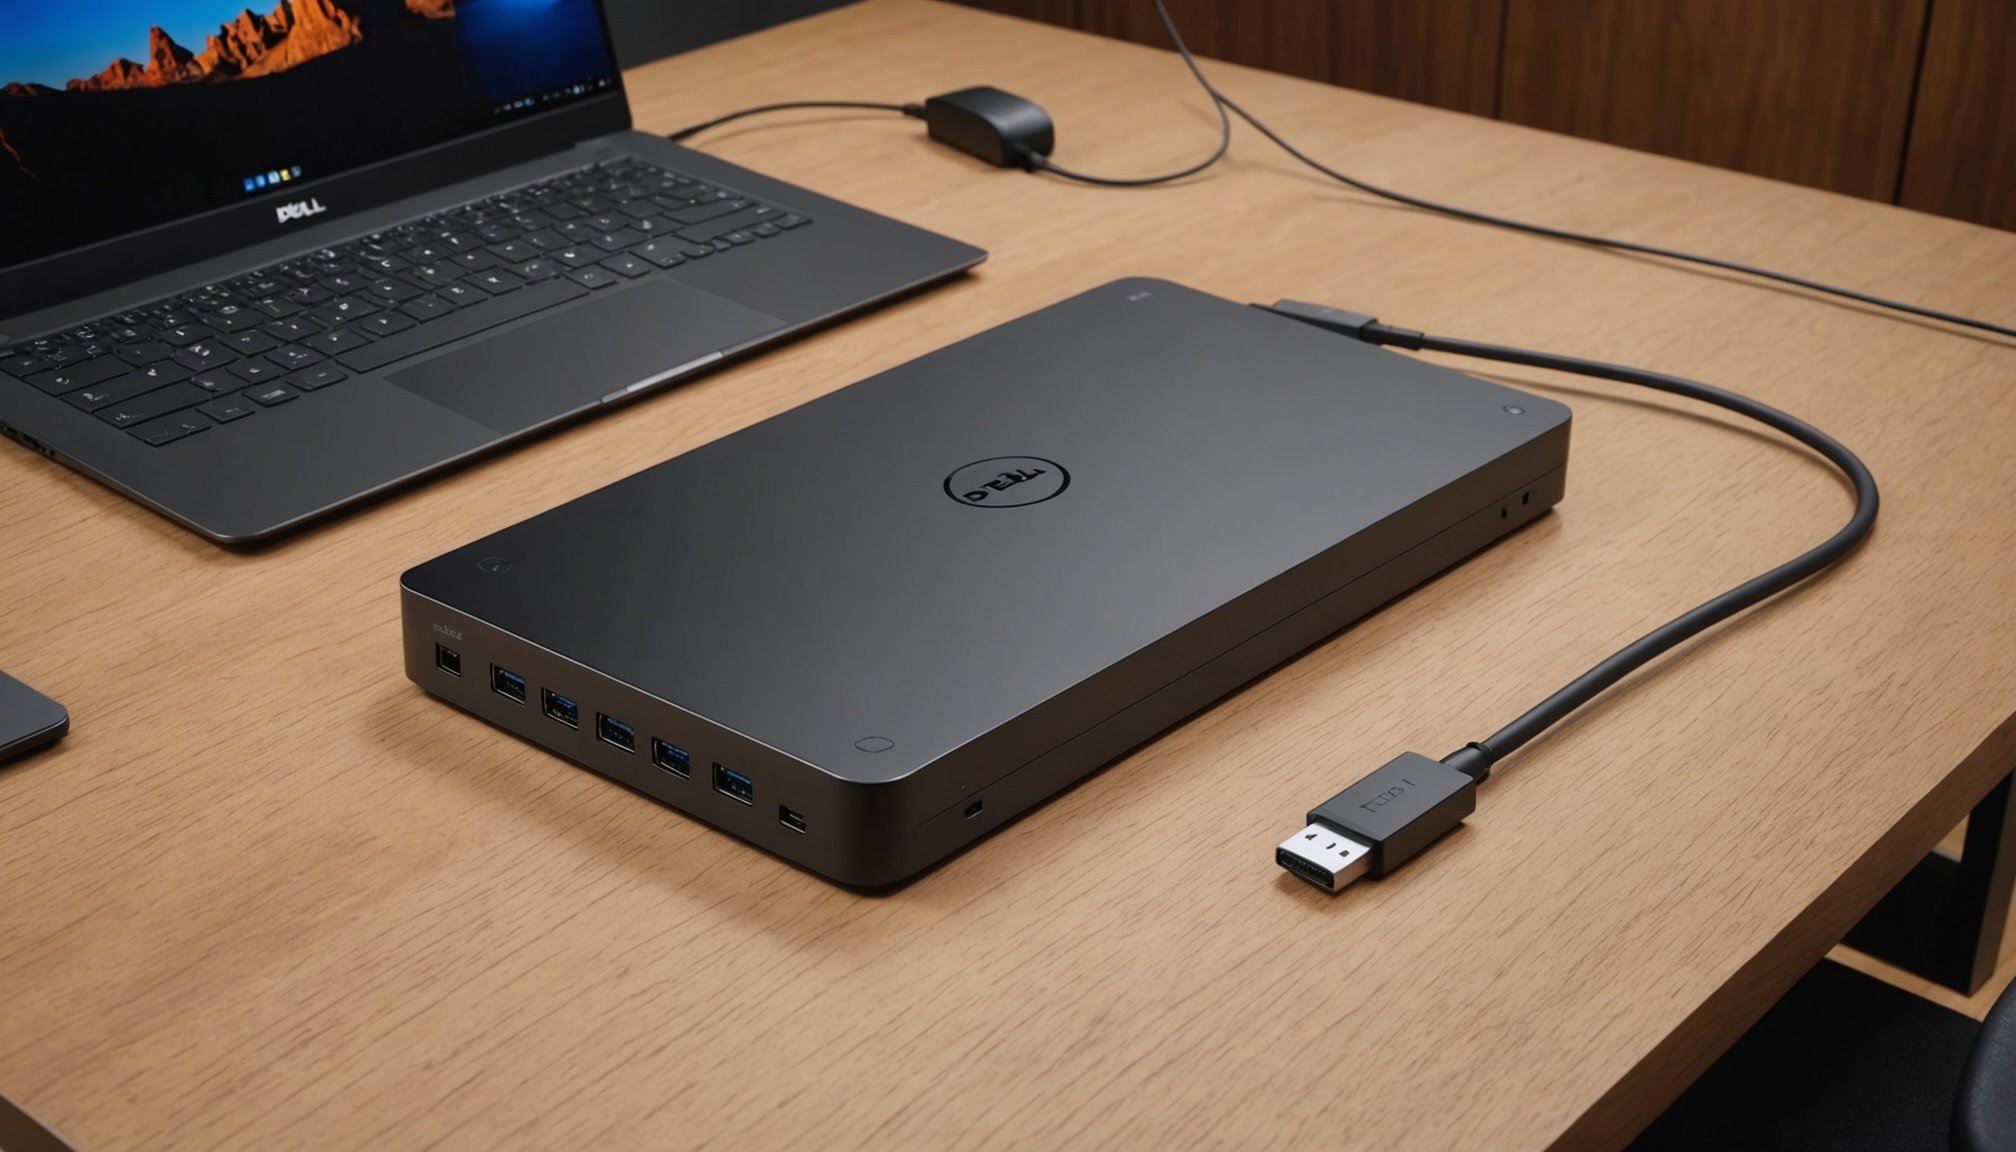
Connecting the Dock
Begin by securely connecting your Thunderbolt 3 dock to the Dell XPS 13 using the provided Thunderbolt 3 cable. Ensure the cable is firmly attached to both the dock and the laptop's Thunderbolt port to avoid connectivity issues. This step is crucial for establishing a stable connection and ensuring all peripherals linked to the dock function correctly.
Powering the Dock
Once the dock is connected, plug in the power adapter to an electrical outlet and attach it to the dock. This will activate the dock, allowing it to power connected devices and provide additional functionality. Verify that the dock's power indicator light is on, confirming it is operational.
Initial Device Recognition
After powering the dock, the Dell XPS 13 should automatically recognize it. Check the system notifications for a confirmation message indicating successful connection. If the dock is not detected, revisit the connection steps and ensure the system's Thunderbolt software is updated. Proper recognition is essential for accessing the full range of connectivity options offered by the dock.
Configuring Settings for Optimal Performance
To ensure your Dell XPS 13 and Thunderbolt 3 dock perform at their best, fine-tuning your configuration settings is essential. This process involves adjusting display settings, configuring audio output, and optimizing data transfer speeds.
Adjusting Display Settings
When connecting multiple monitors, access the Dell settings to configure display arrangements. Navigate to the display settings in your operating system to arrange, extend, or duplicate screens according to your preference. This setup enhances productivity by providing a seamless multi-monitor experience.
Configuring Audio Output
To route audio through the dock, select the dock as the primary audio output device. Access the sound settings on your Dell XPS 13 and choose the dock from the list of available audio devices. This ensures high-quality sound output, ideal for presentations or media consumption.
Maximizing Data Transfer Speeds
For optimal data transfer speeds, use a high-quality Thunderbolt 3 cable and ensure all connected devices support Thunderbolt 3 technology. Avoid using USB-C cables that lack Thunderbolt certification, as they may reduce performance. Additionally, close unnecessary applications to free up system resources, further enhancing data transfer efficiency.
Troubleshooting Common Issues
Encountering issues with your Thunderbolt 3 dock and Dell XPS 13 can be frustrating, but most problems have straightforward solutions. Understanding how to identify and resolve these common problems is key to maintaining optimal performance.
Identifying and Resolving Connection Issues
If your devices aren't connecting properly, first ensure that all cables are securely attached. The Thunderbolt 3 cable should be firmly connected to both the dock and your Dell XPS 13. Check the system for any error messages or notifications that might indicate a connectivity issue. Updating the system's Thunderbolt software can often resolve these problems.
Solutions for Performance-Related Problems
Performance issues, such as slow data transfer speeds or unresponsive peripherals, may arise from using non-certified cables. Always use a high-quality Thunderbolt 3 cable. Additionally, ensure that all connected devices support Thunderbolt 3 technology. Closing unnecessary applications can also free up system resources, enhancing overall performance.
Resources for Further Troubleshooting Assistance
For persistent issues, consult the manufacturer's support page or user manual for specific troubleshooting steps. Online forums and communities can provide additional insights and solutions from users who have faced similar challenges. These resources are invaluable for finding comprehensive solutions to more complex problems.
User Experiences and Testimonials
Exploring user experiences with Thunderbolt 3 docks reveals valuable insights into their functionality and versatility. Many users express satisfaction in reviews, noting how these docks enhance their Dell XPS 13 setups. The seamless integration and expanded connectivity options are frequently praised.
One user shared a successful installation story, highlighting how the dock transformed their XPS 13 into a powerful workstation. They emphasised the ease of connecting multiple peripherals, including monitors and external storage, which significantly boosted productivity.
Common feedback includes tips for achieving the best results. Users recommend ensuring all software and firmware are up to date before installation. This step is crucial for avoiding compatibility issues and ensuring smooth operation. Another frequent suggestion is using certified Thunderbolt 3 cables to maintain optimal performance and data transfer speeds.
Users also advise arranging the workspace to minimise cable clutter, enhancing both aesthetics and functionality. Such feedback underscores the importance of preparation and attention to detail in maximising the benefits of Thunderbolt 3 technology. These shared experiences and reviews provide practical guidance for those looking to optimise their Dell XPS 13 setups.
Frequently Asked Questions (FAQs)
In this section, we address common installation questions and concerns regarding the Thunderbolt 3 dock. These FAQs provide clarity and guidance for users.
Common Compatibility Questions
Is my Thunderbolt 3 dock compatible with all laptops? Not all laptops support Thunderbolt 3 docks. It's essential to verify compatibility with your specific model, such as the Dell XPS 13, to ensure seamless integration and performance. Compatibility often depends on the laptop's Thunderbolt 3 port specifications and firmware updates.
Troubleshooting FAQs
Why isn't my dock recognized after installation? Ensure all connections are secure and the Thunderbolt software is updated. If issues persist, try restarting your device and checking for error notifications. Using certified Thunderbolt 3 cables can also resolve connectivity problems.
Warranty and Support Options
What support is available if my dock malfunctions? Most manufacturers offer a warranty for Thunderbolt 3 docks, typically covering defects and malfunctions. Check the manufacturer's website for warranty details and support options. Contacting customer service can provide additional assistance and troubleshooting advice.